

How to Print Crochet Patterns Clearly
Table of Contents
- Why Clear Crochet Pattern Printing Matters
- Best Printer Settings for PDF Patterns
- Scaling and Adjusting Your Crochet Pattern for Readability
- Choosing the Right Paper and Ink Quality
- How to Organize Crochet Patterns After Printing
- Using a Printable Crochet Planner to Track Your Projects
- Troubleshooting Common Printing Problems
- Accessibility Tips for Low-Vision Readers
Last Updated: August 30, 2026
Why Clear Crochet Pattern Printing Matters
A blurry stitch diagram or illegible abbreviations can derail your entire project before you even thread your hook. At Crochet Creations Hub, we understand how frustrating it is to waste paper and ink on patterns that don't print clearly. The difference between a readable pattern and a frustrating one often comes down to printer settings, paper choice, and a few simple adjustments. Getting this right saves time, reduces waste, and lets you focus on creating beautiful handmade pieces.
This guide walks you through every step of how to print crochet patterns clearly, from selecting the right printer settings to organizing your finished patterns. Whether you're printing a quick amigurumi project or a complex lace shawl, these techniques ensure your patterns stay legible from the first row to the bind-off.
Best Printer Settings for PDF Patterns
The foundation of clear pattern printing starts in your printer settings. When you print crochet patterns, you're printing detailed diagrams with small text and intricate stitch symbols, settings that work for a letter won't cut it here.
Inkjet vs. Laser Printer Considerations
Both printer types can produce clear patterns, but they handle PDFs differently. Inkjet printers excel at color reproduction if your pattern includes color-coded stitches, though they produce slightly softer text edges than laser printers. Laser printers deliver crisp, sharp text and diagrams with consistent quality, making them ideal if you print patterns regularly. For most crocheters, an inkjet printer works perfectly fine as long as you adjust your settings correctly.
Adjusting DPI and Resolution for Clarity
DPI (dots per inch) is where many crafters go wrong. Bump your DPI up to 600 or even 1200 if your printer supports it (canon.com). This creates sharper lines, crisper text, and more defined stitch symbols. Before hitting print, check your PDF viewer or print dialog for resolution options and look for settings labeled "Best," "High Quality," or "Fine Detail." Avoid "Draft Mode" or "Fast Print." Also disable any automatic scaling or compression features that might reduce image quality.
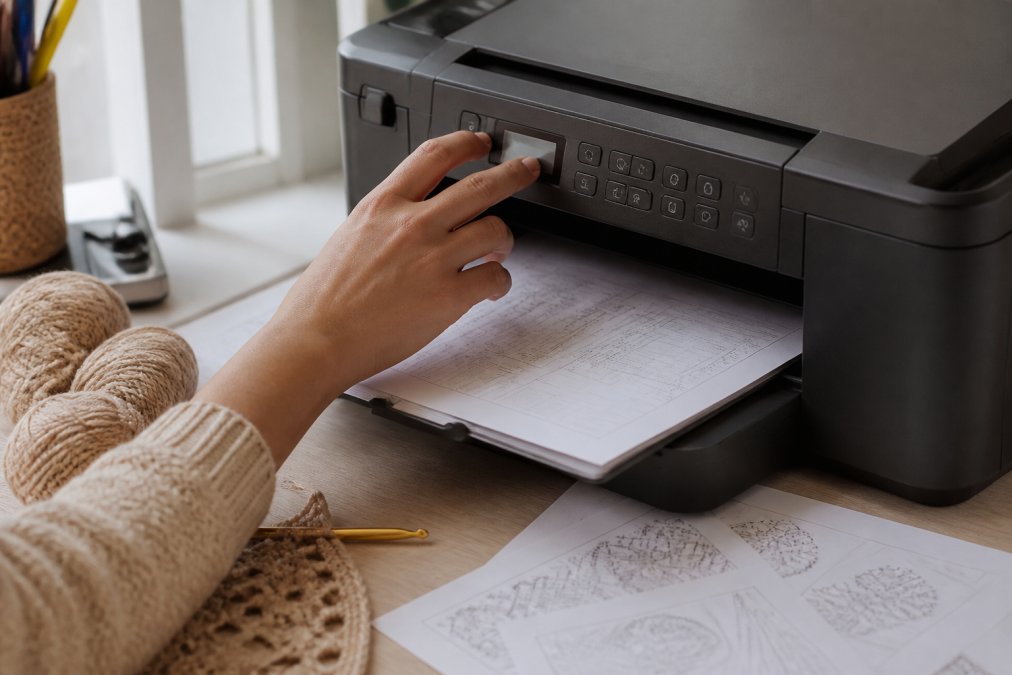
If your printer has a "grayscale" or "black and white" option and your pattern doesn't rely on color, use it, black ink produces sharper results than color printing for text-heavy patterns.
Scaling and Adjusting Your Crochet Pattern for Readability
Even with perfect printer settings, a pattern that's too small to read defeats the purpose. Scaling your pattern appropriately is just as important as the printer settings themselves.
Resizing Patterns to Fit Your Page
Print a test page at 100% first. If the stitch diagram feels cramped or the font size is smaller than your comfortable reading size, increase the scale to 110% or 125%. Some patterns benefit from being printed at 150% if they're particularly detailed. Legibility is worth the extra pages.
Adjusting Margins and Font Size
Margins matter more than most crafters realize. Set margins to at least 0.5 inches on all sides to ensure nothing gets lost at the edges (nist.gov). If your pattern comes as an editable file, increase the font size for abbreviations and stitch descriptions, even bumping abbreviations from 10-point to 12-point makes a noticeable difference. For stitch diagrams, scaling the entire page is often the better solution.
Choosing the Right Paper and Ink Quality
Standard copy paper works, but it's not ideal for patterns you'll reference repeatedly while crocheting. Twenty-four-pound paper holds ink better and feels more durable (iso.org). For patterns with detailed stitch diagrams, glossy or semi-gloss photo paper can produce exceptionally sharp results. A good middle ground is matte finish paper designed for inkjet printers.
Use genuine cartridges from your printer manufacturer or high-quality compatible cartridges. If your printed patterns look washed out or inconsistent, check whether your ink cartridges are running low or if you're using substandard supplies.
How to Organize Crochet Patterns After Printing
Once you've printed your patterns clearly, organization becomes your next priority. Scattered patterns lead to lost projects and frustration when you want to revisit a design.
Binder Organization Systems
A three-ring binder is the gold standard for pattern organization. Use sheet protectors to keep each pattern clean and protected from yarn fibers and spills. Label each sheet protector with the pattern name and difficulty level. Within your binder, organize patterns by category: amigurumi, blankets, accessories, garments, and so on. Use divider tabs with labels so you can flip to the section you need without browsing every page.
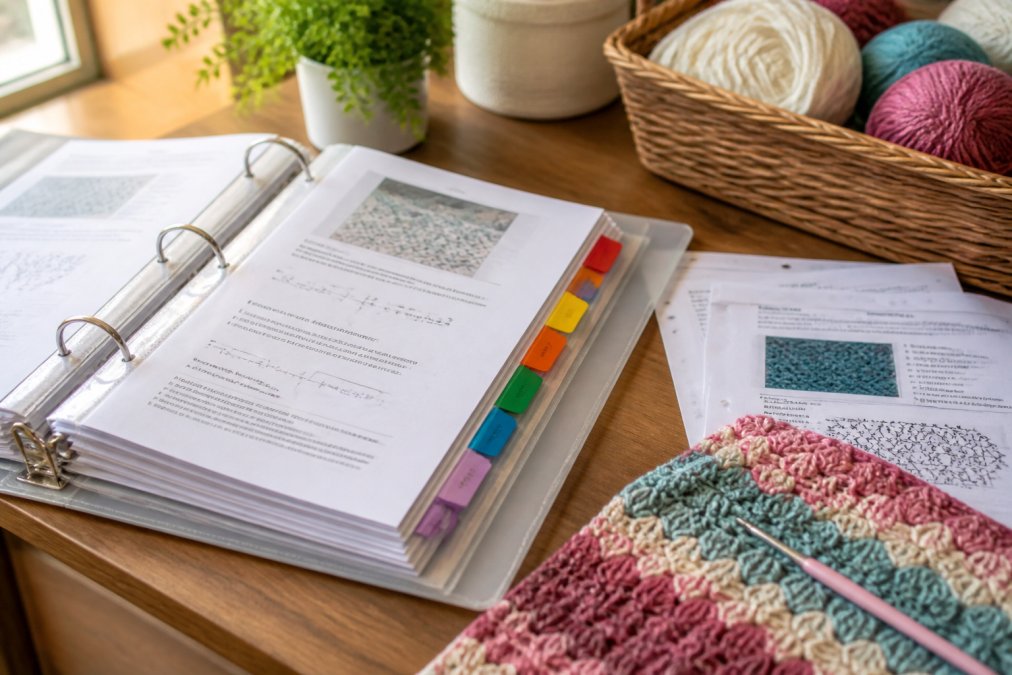
Color-coding adds another layer of organization. Use colored tabs or highlighters to mark difficulty levels: green for beginner, yellow for intermediate, red for advanced. Include a table of contents at the front of your binder listing each pattern, its page number, and key details like yarn weight required or finished size.
Digital Annotation and Color Coding
Many PDF readers let you highlight text, add notes, and bookmark pages. Before printing, open your pattern PDF and use the annotation tools to mark sections you want to remember. Some crafters use a digital spreadsheet tracking their patterns with columns for pattern name, source, difficulty, yarn weight, and status. When you're deciding what to make next, you can sort by difficulty or yarn weight to match what you have on hand.
Using a Printable Crochet Planner to Track Your Projects
A printable crochet planner designed specifically for makers gives you a centralized place to log what you're working on, what you've completed, and what you want to make next. Crochet Creations Hub offers a free printable planner.
Use your planner to set realistic goals. Instead of "I want to make more things," write "I'll complete one amigurumi project each month." Seeing your completed work listed in one place is incredibly motivating and helps prevent the guilt of abandoned projects.
Troubleshooting Common Printing Problems
Even with the best settings and paper, printing issues happen.
Fixing Blurry Text and Small Stitch Diagrams
Blurry text usually indicates a resolution problem. Go back to your printer settings and increase from 300 to 600 DPI. If the text is still blurry, check whether your printer driver needs updating. For small stitch diagrams, scale the entire page to 125% or 150% of the original size. Another common culprit is printer ink running low, even if your printer doesn't show a warning, low ink produces noticeably worse output.
Handling Double-Sided Printing and Layout Issues
When you print crochet patterns clearly on both sides, align the pages correctly so the pattern and its legend don't end up back-to-back in a confusing way. Before printing double-sided, do a test run on single-sided pages to verify your layout. Check your print dialog for a "Duplex" or "Two-Sided" option.
If your printer doesn't support automatic double-sided printing, print all odd pages first, then reload the stack and print the even pages on the back. Layout issues sometimes occur when a pattern is designed for a different paper size. Use your print dialog's "Fit to Page" option to automatically scale the pattern to your paper size.
Accessibility Tips for Low-Vision Readers
If you have low vision or are printing patterns for someone who does, a few adjustments make a huge difference. Increase the contrast in your PDF before printing, most PDF readers have an "Invert Colors" or "High Contrast" mode. Use larger paper sizes if possible; instead of standard 8.5 x 11-inch letter paper, print on 11 x 17-inch tabloid paper.
Magnifying tools are worth considering. A page magnifier lets you read small text without printing at enormous sizes. For digital reading, adjust your PDF viewer's zoom level and text size settings to increase font size independently of the diagram size.
Getting your crochet patterns to print clearly transforms your entire crafting experience. From adjusting your printer settings through organizing your finished patterns, each step compounds to create a system that supports your creativity. When you're ready to start your next project, Crochet Creations Hub's premium digital patterns are designed with printability in mind. Our patterns feature clear stitch diagrams, readable abbreviations, and thoughtful layout. Get your free pattern and experience the difference that well-designed, print-friendly patterns can make in your crochet journey.
Frequently Asked Questions
What are the best printer settings for printing crochet patterns?
Use 300 DPI or higher for clarity and set your printer to the highest quality mode available. For text-heavy patterns, select grayscale to save ink while maintaining readability. Disable draft mode and enable scaling options to fit patterns on your desired number of pages. Adjust margins to 0.5 inches to maximize pattern space. Test a single page first before printing the full PDF file to ensure the stitch diagram and abbreviations are clear.
How do I resize a crochet pattern to fit on one page?
Open your PDF file in your document viewer and look for the print-friendly scaling option. Select 'Fit to Page' or adjust the page scaling percentage manually, typically found in print settings. Most viewers allow you to shrink the pattern to 80-90% of its original size while maintaining readability. Preview the output before printing to confirm the font size remains legible and the stitch count abbreviations are visible.
What paper type is best for printing crochet instructions?
Use 20-24 lb. white cardstock or premium printer paper for durability and clarity. Cardstock resists wear and tear when handled frequently while crocheting, and it handles ink better than thin paper, reducing blurriness. Avoid glossy paper, which can cause ink smudging and make annotations difficult. If printing double-sided, choose paper thick enough to prevent show-through of the ink from the reverse side.
How do I organize printed crochet patterns in a binder?
Use a 3-ring binder with sheet protectors to keep patterns clean and organized. Create dividers by skill level (beginner, intermediate, advanced) or by project type (blankets, amigurumi, accessories). Color-code tabs for quick reference and include a table of contents at the front. Store your printable crochet planner at the front to track completed projects and materials used. This system keeps your patterns protected and makes finding your next project simple.
This article was written using GrandRanker