

Printable Crochet Pattern Layout Guide
Table of Contents
- What Makes a Printable Crochet Pattern Layout Work
- Essential Elements Every Crochet Pattern Needs
- Step 1: Choose Your Design Software and Set Up Your Document
- Step 2: Structure Row-by-Row Instructions and Digital Charts
- Step 3: Grade Patterns for Different Sizes
- Step 4: Optimize for PDF Export and Print Readiness
- Using a Crochet Pattern Template Free or Premium
- Crochet Pattern Layout Best Practices for Professional Results
Last Updated: August 20, 2026
What Makes a Printable Crochet Pattern Layout Work
A printable crochet pattern layout is a professionally formatted document designed to be read on screen and printed without distortion, loss of clarity, or wasted paper. The difference between a pattern that prints beautifully and one that frustrates crafters comes down to thoughtful design choices made before you ever export to PDF.
According to accessibility guidelines from the Web Content Accessibility Guidelines (WCAG), digital documents should be structured with clear hierarchy and sufficient contrast to serve readers with varying visual abilities, the same principles apply to printable patterns. A well-designed pattern stands out through clarity of instruction, logical organization, and respect for physical printing constraints.
Essential Elements Every Crochet Pattern Needs
Your pattern needs specific information presented in a predictable order so crafters find what they're looking for without hunting through pages.
Pattern title, skill level, and finished measurements
Start with the essentials at the top: a prominent title, skill level (Beginner, Intermediate, Advanced), and exact finished dimensions in both inches and centimeters. For amigurumi or toys, state the approximate finished height. Include a clear photo of the completed project to help crafters visualize the end result.
Yarn weight, notions list, and gauge swatch requirements
List the specific yarn weight required and approximate yardage needed. Include a clear gauge requirement: "10 cm over 10 rows of single crochet in main stitch." Create a notions list of everything beyond yarn and a hook, buttons, stitch markers, yarn needle, scissors.
Stitch abbreviations and crochet terminology reference
Define every abbreviation used in your pattern. For international patterns, note whether you're using US or UK terminology, a single crochet in US terms is a double crochet in UK terms. If your pattern uses specialized techniques (Tunisian crochet, tapestry crochet, Amigurumi), include a brief explanation or link to a tutorial.
Step 1: Choose Your Design Software and Set Up Your Document
Choose software that supports precise margins, consistent typography, and reliable PDF export. Adobe InDesign is the industry standard but expensive. Canva offers accessible templates with drag-and-drop simplicity. Microsoft Word works for basic patterns. Google Docs is free and cloud-based.
Page margins and header and footer setup
Set page margins to at least 0.5 inches on all sides. Standard margins are 1 inch top and bottom, 0.75 inches left and right. Add a header with your pattern title and page number, and a footer with your copyright notice and date. Set your page size to 8.5 x 11 inches (standard US letter) and test on A4 paper as well.
Typography and visual hierarchy for readability
Use a maximum of two fonts, one for headings and one for body text. Sans-serif fonts (Arial, Helvetica, Calibri) work well for digital readability. Set body text to at least 11 points. Headings should be 16-18 points for major sections, 13-14 points for subheadings. Use bold and italics sparingly. Create visual hierarchy through size and spacing rather than color, since patterns are often printed in black and white.
Step 2: Structure Row-by-Row Instructions and Digital Charts
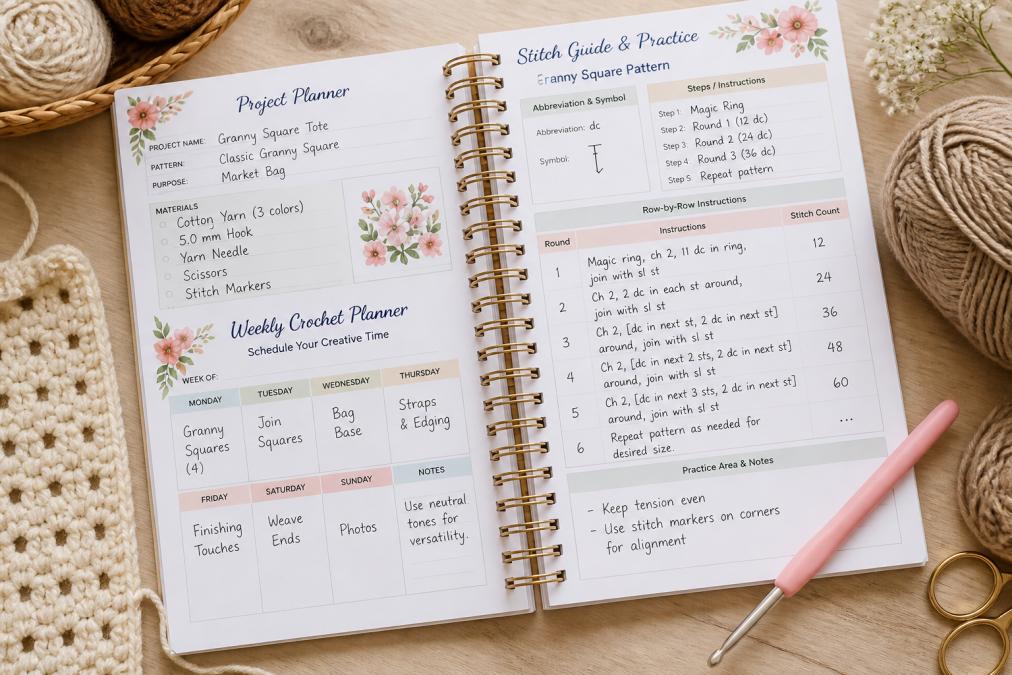
Row-by-row instructions are the backbone of your pattern. Each row should be numbered and include the stitch count at the end:
- Row 1: Ch 20, sc in 2nd ch from hook and in each ch across. (19)
The stitch count in parentheses tells the crafter exactly how many stitches they should have, enabling immediate error detection.
Formatting row-by-row instructions for clarity
Break long patterns into logical sections like "Main Body," "Shaping," and "Edging." Use consistent formatting throughout, every row should follow the same structure. Include occasional summary rows that recap stitch count and progress to help crafters confirm they're on track.
Creating and placing digital charts and vector graphics
Use vector graphics software (Adobe Illustrator, Affinity Designer, or free Inkscape) to create charts. Each stitch should be represented by a clear symbol: a small square for single crochet, an X for double crochet, a T for treble. Place charts directly beside written instructions, not pages away. Label chart axes clearly with row numbers on the left and stitch numbers across the bottom, and include a legend explaining each symbol.
Step 3: Grade Patterns for Different Sizes
Grading a pattern means creating versions in multiple sizes (Small, Medium, Large, Extra Large). Provide all sizes within a single document with changes in parentheses: "Ch 20 (24, 28, 32)." Alternatively, create separate PDF files for each size to eliminate confusion. Test each size by making the pattern in that size before publishing. Document finished measurements for each size clearly: "Finished measurements: 36 (40, 44, 48) inches around."
Step 4: Optimize for PDF Export and Print Readiness
A PDF preserves your formatting across devices and printers. When exporting to PDF, choose these settings:
- Compression: Medium or High
- Image resolution: 300 DPI for images, 600 DPI for text
- Embed fonts: Yes
- Color space: RGB for digital viewing, CMYK if printing commercially
Print your pattern on standard letter-size and A4 paper. Check for text cut off at page edges, images that don't fit within margins, awkward page breaks, and margins too narrow to write notes. Test on different printers if possible, inkjet and laser printers handle margins differently.
Using a Crochet Pattern Template Free or Premium
A crochet pattern template provides pre-designed structure with placeholder text and formatting already in place. Free templates are available from Canva and Etsy. Premium templates from specialized design companies offer more customization and professional styling. Look for templates that include sections for materials, gauge, abbreviations, row-by-row instructions, and finishing notes.
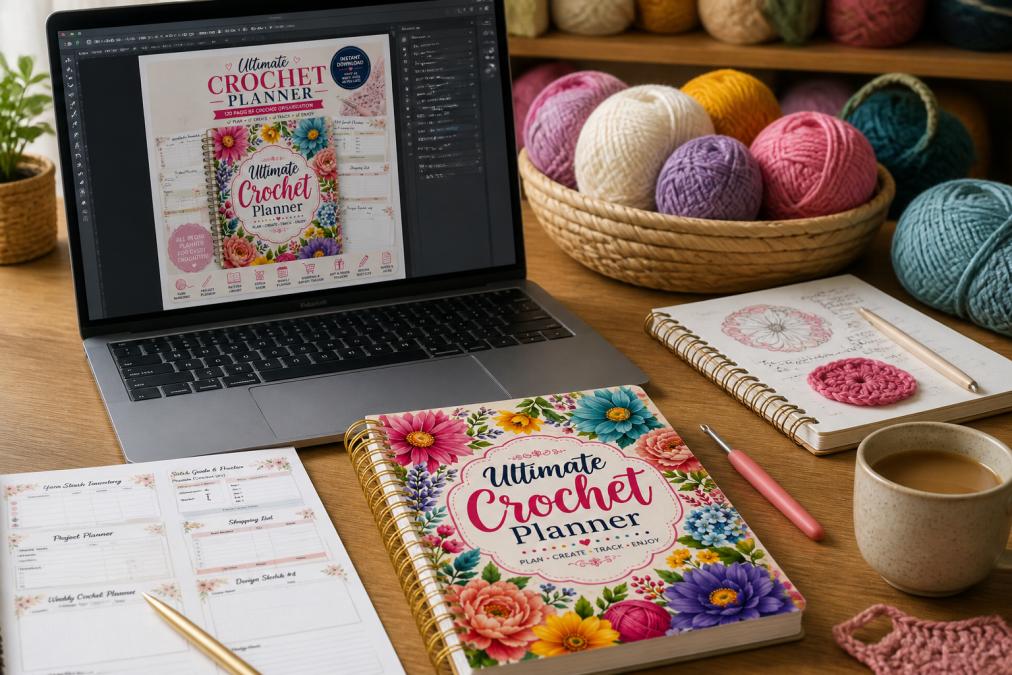
At Crochet Creations Hub, we understand that organization matters as much as design. The [Ultimate Crochet Planner(/products/free-ultimate-crochet-planner-120-page-printable-crochet-journal-project-planner-instant-download-pdf) | crochetcreationshub.com/products/ultimate-crochet-planner-project-tracker-yarn-inventory-digital-download] helps you track patterns you've created and manage your design projects.
Crochet Pattern Layout Best Practices for Professional Results
Professional patterns share common characteristics: clear organization, consistent formatting, and attention to detail. Consistency is non-negotiable, every row should follow the same format, every heading should use the same font size and style, every image should have a consistent caption. White space matters; a pattern packed with text feels overwhelming. Use generous spacing between sections, adequate line spacing within paragraphs, and breathing room around images. Include a testing statement: "This pattern has been tested by [number] independent testers."
Accessibility standards for PDF patterns
Use proper heading hierarchy: Heading 1 for the pattern title, Heading 2 for major sections, Heading 3 for subsections. Add alt text to images in 1-2 sentences. Example: "Finished amigurumi cat sitting upright, approximately 4 inches tall, with gray yarn body and pink embroidered nose." Use sufficient contrast between text and background, black text on white meets accessibility standards. Check your color contrast using the WebAIM Contrast Checker. Ensure your PDF is tagged so screen readers can navigate the document.
Copyright and legal disclaimers
Include a copyright notice: "© 2026 [Your Name]. All rights reserved." Specify whether your pattern can be used commercially. Many pattern designers allow personal use but prohibit commercial use: "This pattern is for personal use only. Commercial use and selling finished items is not permitted without written permission." Include a disclaimer about pattern accuracy: "While every effort has been made to ensure accuracy, this pattern is provided as-is without warranty." Add a statement about pattern modifications: "You may modify this pattern for personal use. You may not publish modified versions or claim them as your own work."
Creating a professional printable crochet pattern layout takes time, but it directly impacts how crafters experience your designs. A pattern that prints clearly, reads easily, and includes all necessary information builds loyalty and encourages crafters to return for your next design. Start with our free [Ultimate Crochet Planner(/products/ultimate-crochet-planner-project-tracker-yarn-inventory-digital-download) | crochetcreationshub.com/products/free-ultimate-crochet-planner-120-page-printable-crochet-journal-project-planner-instant-download-pdf] to organize your pattern projects, then apply these layout principles to create patterns that crafters will treasure.
| Element | Purpose | Best Practice |
|---|---|---|
| Margins | Prevent cut-off text | 0.5-1 inch on all sides |
| Typography | Ensure readability | 11pt body text minimum, max 2 fonts |
| Stitch count | Enable error checking | Include at end of every row |
| Digital charts | Simplify complex patterns | Place beside row-by-row instructions |
| Pattern grading | Serve multiple sizes | Test each size before publishing |
| PDF export | Preserve formatting | Compress images, embed fonts |
| Alt text | Support accessibility | Describe images in 1-2 sentences |
| Copyright notice | Protect your work | Specify personal vs. commercial use |
Frequently Asked Questions
How do I create a crochet pattern PDF that prints clearly without blurriness?
Use vector graphics instead of rasterized images for charts and diagrams, set your PDF export resolution to 300 DPI minimum, and test print on standard 8.5x11-inch paper before finalizing. Choose fonts at least 11 points for body text and 14+ points for headers. Ensure adequate margins (0.5 inches minimum) to prevent edge cutoff. Export directly from your design software as PDF rather than printing to PDF, which can reduce quality.
What should I include in the essential sections of a professional crochet pattern?
Every pattern needs a clear title, skill level indicator, finished measurements, yarn weight and yardage requirements, notions list, gauge swatch instructions, standardized abbreviations, step-by-step row-by-row instructions, digital charts if applicable, and pattern grading options for multiple sizes. Include a header with your brand name and a footer with page numbers. Add copyright and legal disclaimers if selling commercially.
What's the best printable crochet project planner to stay organized while making multiple patterns?
The Ultimate Crochet Planner from Crochet Creations Hub is a 120-page printable PDF that tracks projects, yarn inventory, and progress. It's available free for a limited time and includes sections for pattern notes, yarn swatches, and project timelines. Use it alongside your printable patterns to log which projects you're working on, yarn used, and completion status.
Can I use a free crochet pattern template to start my own patterns?
Yes. Free crochet pattern templates provide a foundation with pre-formatted sections for title, materials, abbreviations, and instructions. However, templates often lack customization for pattern grading, accessibility features, or professional design elements. Starting with a free template is cost-effective for beginners, but investing in design software like Canva or Adobe InDesign gives you more control over layout, typography, and PDF export settings for commercial-quality patterns.
This article was written using GrandRanker